

I remember the first time I truly got aioli. It wasn't in some fancy restaurant, it was during a chaotic summer BBQ at my friend's place. Someone brought a jar of store-bought stuff, and honestly, it was fine. But then my friend's grandma, who always has a secret weapon up her sleeve, whipped out a small bowl of this unbelievably creamy, garlicky, homemade garlic aioli. It was like a flavor explosion, a revelation! I watched her, mesmerized, as she emulsified oil and egg yolk, a little bit of magic happening right before my eyes. That day, I vowed to conquer this easy homemade garlic aioli recipe, and let me tell you, it's been a journey of trial, error, and pure deliciousness. This isn't just a sauce, it's a hug for your taste buds, transforming even the simplest fries into something extraordinary.
My first attempt at homemade garlic aioli was… a disaster. I was so excited, whisking away like a madwoman, pouring in the oil way too fast. Suddenly, instead of a beautiful, creamy sauce, I had this sad, oily, curdled mess. My kitchen looked like a mayonnaise explosion, honestly. I almost gave up, but then I remembered Grandma's steady hand. I learned the hard way that patience is key, and a slow, steady stream of oil is your best friend. Now, I laugh about it, but back then, it felt like a culinary catastrophe!
Ingredients for Easy Homemade Garlic Aioli
- Egg Yolk (large, fresh): This is the emulsifier, the absolute backbone of that creamy texture. Honestly, don't skimp on a good quality, fresh egg. I've tried using older eggs and the emulsion just doesn't hold as well. fresh is best, always.
- garlic (2-3 fresh cloves, minced very fine): This is the garlic in your homemade garlic aioli! Fresh is non-negotiable here, friend. I once tried using garlic powder in a pinch, and it just wasn't the same. It lacked that pungent, vibrant kick. Go for fresh, always crush it well to release those flavorful oils.
- Neutral Oil (¾ cup, like canola, grapeseed, or light olive oil): This forms the body of the aioli. A neutral oil lets the garlic shine. I'm telling you, extra virgin olive oil can be too strong here, it can make the aioli bitter. I learned that the hard way with a batch that tasted like a peppery garden. Stick to light stuff unless you really know what you're doing.
- Dijon Mustard (1 teaspoon): This is a secret emulsifier helper and adds a lovely tang. A little bit goes a long way, but it's crucial for stability. I once forgot it entirely, and my aioli was much more temperamental, splitting almost instantly. Never again!
- Lemon Juice (1 tablespoon, freshly squeezed): This brightens everything up and cuts through the richness. Fresh is key! I always keep a bag of lemons in my fridge, they're my kitchen sunshine. Using bottled juice? Just… don't. You'll miss that vibrant zing and it won't be the same.
- Salt (¼ teaspoon fine sea salt, or to taste): Seasoning! It brings all the flavors together. Taste as you go, because everyone's salt preference is different. I always start with a small pinch, then add more until it feels just right on my tongue. You'll see it transform the taste.
Making Your Easy Homemade Garlic Aioli
- Prep Your Garlic & Base:
- Alright, first things first, let's get that garlic ready for our homemade garlic aioli. Mince those cloves really, really fine. You want almost a paste, honestly. Then, in a medium-sized bowl, whisk together your egg yolk, minced garlic, Dijon mustard, and a pinch of salt. It should look a bit pale yellow and smell wonderfully pungent already. This is where the magic starts, and where I always get excited, feeling that anticipation for the creamy goodness to come!
- The Slow Drip of Oil:
- Now, for the part that requires a little patience, but trust me, it's worth it for a creamy aioli. Slowly, and I mean slowly, begin to drizzle in your neutral oil, drop by drop, while continuously whisking. This is where I messed up big time my first go-round! If you pour too fast, it'll break, and you'll have a sad, separated mess. Keep whisking, watching as the mixture starts to thicken ever so slightly. It's a beautiful transformation, honestly.
- Building the Emulsion for Easy Homemade Garlic Aioli:
- As you continue to whisk, you'll notice the mixture getting noticeably thicker and paler. Once you've added about a quarter of the oil, you can start to pour a little faster, but still in a thin, steady stream. Your arm might get a bit tired here, but don't give up! I often switch hands, or sometimes I'll even recruit a family member for a whisking relay race. You're aiming for a luscious, creamy texture for your easy homemade garlic aioli.
- Season and Brighten:
- Once all the oil is incorporated and you have a thick, glossy aioli, it’s time to add the lemon juice. Pour it in and whisk it well. This step is crucial for balancing the richness and really making the garlic flavors pop. Taste it! Does it need more salt? A little more lemon for zing? This is your aioli, so adjust it to your preference. I always taste it on a little piece of bread to get the full effect.
- Final Whisk and Chill:
- Give your homemade garlic aioli one final, vigorous whisk to ensure everything is perfectly combined and beautifully smooth. At this point, it should be thick enough to coat the back of a spoon without dripping off too quickly. Transfer your glorious creation to an airtight container. I usually give it a little tap on the counter to settle any air bubbles, then pop it in the fridge. Chilling it helps the flavors meld and deepen, making it even more delicious.
- Serve Your Creamy Homemade Garlic Aioli:
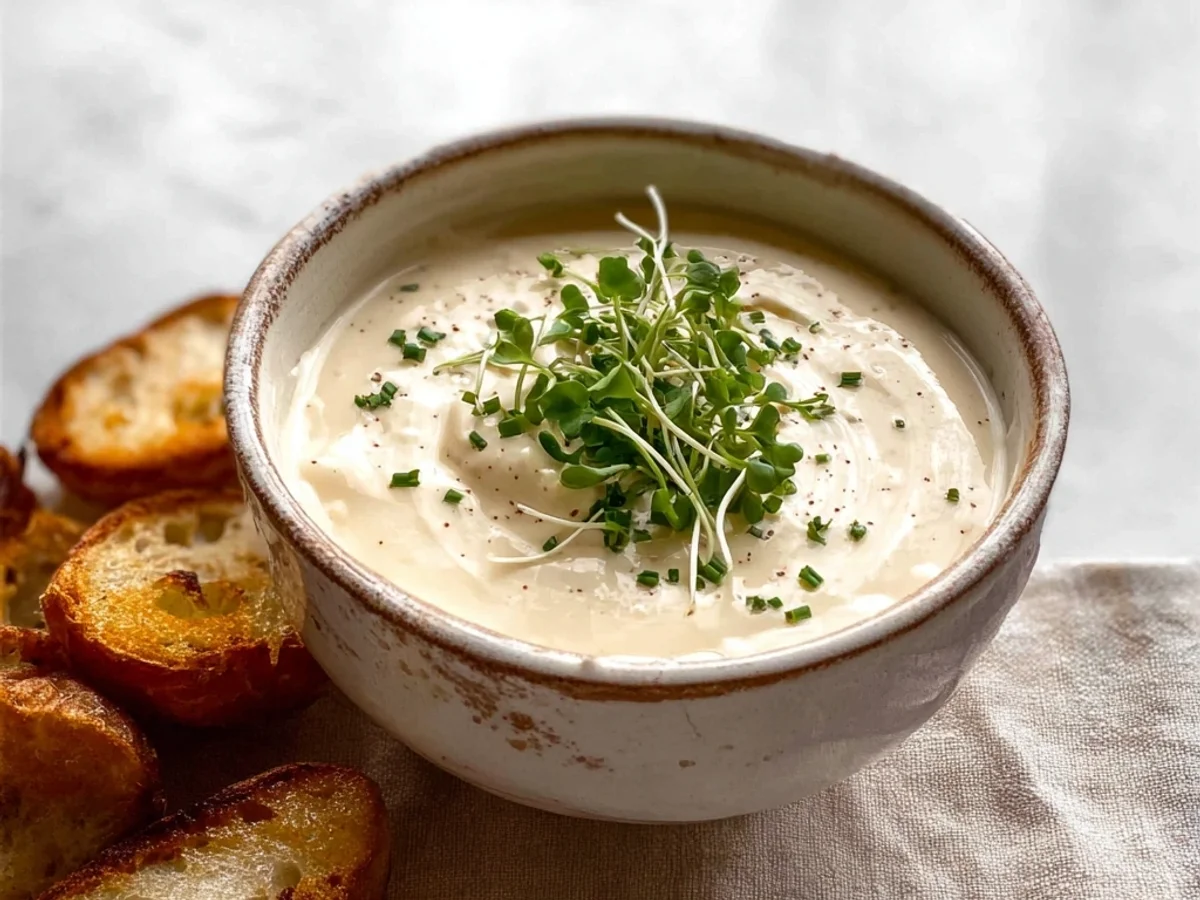
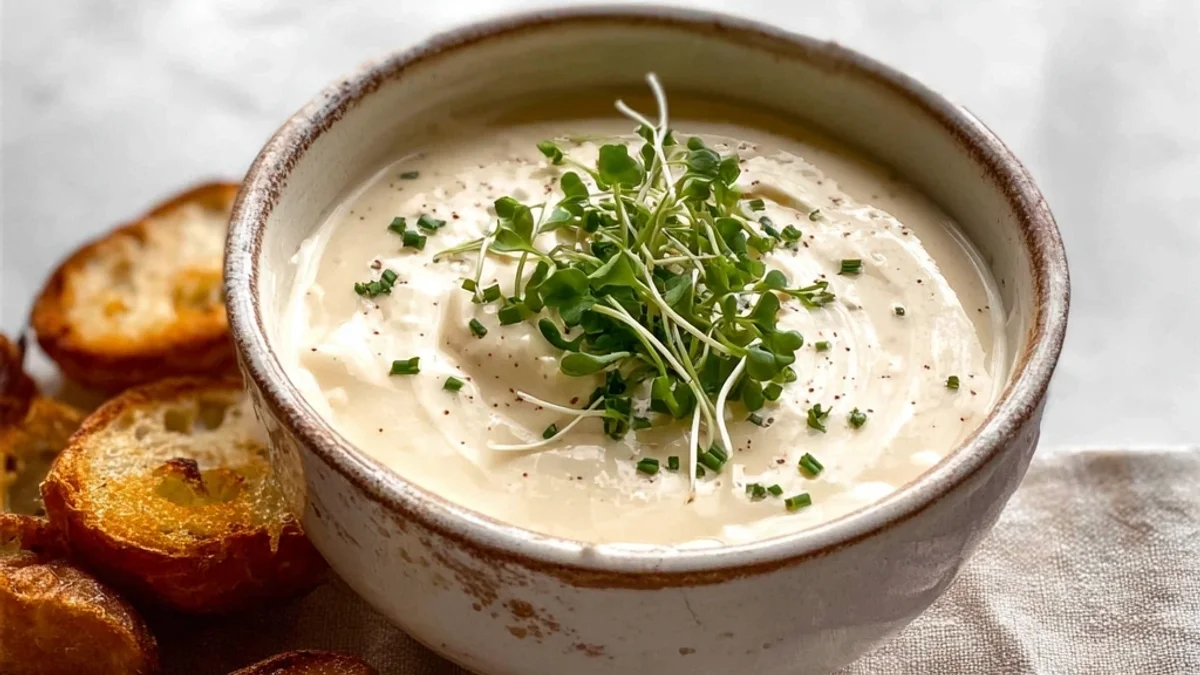
- While your aioli is chilling, you can start thinking about all the delicious things you're going to put it on! After about 30 minutes, pull it out. It should be even thicker and the garlic flavor will have settled in nicely. Give it a gentle stir before serving. It should look wonderfully creamy, smell richly of garlic and lemon, and taste absolutely divine. Honestly, it makes everything better, from roasted veggies to a simple sandwich. Enjoy your homemade garlic aioli!
There’s something so satisfying about seeing that emulsion come together, watching the thin liquid transform into thick, creamy homemade garlic aioli. It feels like a small kitchen triumph every single time, especially after those early, curdled attempts. I often make a double batch now because it disappears so fast, especially when my family finds out I've made it. The smell of fresh garlic and lemon filling the kitchen just makes me happy, honestly.
Homemade Garlic Aioli Storage Tips
So, you've made this glorious homemade garlic aioli, now what? Store it in an airtight container in the fridge. I've found it keeps beautifully for about 5-7 days. Honestly, I've pushed it to 8 days once, but it started to lose a bit of its fresh zing. Don't freeze it, though! I made that mistake once, thinking I was clever, and it completely separated and became watery upon thawing. Just don't do that, lol. It's best enjoyed fresh, but a week in the fridge is totally fine. Give it a good stir before each use, as it might settle a bit, but it will still be delicious.

Easy Homemade Garlic Aioli Ingredient Substitutions
Okay, let's talk swaps for your easy homemade garlic aioli. If you're out of lemons, a tiny splash of white wine vinegar can work in a pinch for acidity, but it won't have the same bright, fresh flavor. I tried it once, and it worked... kinda, but I really missed the citrus. For the oil, any neutral oil will do grapeseed, sunflower, or even a very light olive oil. Just avoid anything too strong, like extra virgin, unless you want a very peppery aioli. If you don't have Dijon, a tiny bit of English mustard can work, but again, it's a different flavor profile. Just be mindful of its pungency. Experiment, but know that the original combo is king for a reason!
Homemade Garlic Aioli Serving Suggestions
Oh, the possibilities with homemade garlic aioli! Honestly, where do I even begin? It’s a dream slathered on a juicy burger or a crispy chicken sandwich. It's also divine as a dip for roasted potatoes, sweet potato fries, or even just plain old crudités. My personal favorite is pairing it with perfectly seared scallops or grilled fish the richness of the aioli with the delicate seafood? Yes please! And for a cozy night in, a big bowl of this with some crusty bread and a good rom-com? That's my kind of evening. It truly elevates almost anything you put it on, making every bite feel special.
Cultural Backstory of Homemade Garlic Aioli
Aioli, at its heart, is a Mediterranean classic, a rich, garlicky emulsion that sings of sun-drenched coasts. While many think of it as French, its roots run deep through Spain, Italy, and especially Provence. The word "aioli" itself comes from "ail et oli," meaning "garlic and oil" in Provençal dialect. For me, discovering its history felt like unlocking a secret. It wasn't just mayo with garlic, it was a testament to simple ingredients creating something profound. My first trip to the south of France solidified this every meal seemed to feature a dollop of this golden goodness. It connects me to those vibrant, flavorful memories, making this easy homemade garlic aioli recipe feel like a little piece of history in my own kitchen.
And there you have it, friends your very own homemade garlic aioli! It’s such a simple thing, really, but it brings so much joy and flavor to the table. Every time I whip up a batch, I'm reminded of that chaotic BBQ and the magic of simple ingredients. It always turns out so much better than I even expect, honestly. I hope you give this easy homemade garlic aioli recipe a try and find your own favorite ways to enjoy it. Don't forget to share your kitchen triumphs (and maybe even your little oops moments!) with me!

Frequently Asked Questions about Homemade Garlic Aioli
- → Can I use a food processor for homemade garlic aioli?
Absolutely! A food processor or immersion blender makes this homemade garlic aioli even quicker. Just make sure to drizzle the oil in very, very slowly through the feed tube while the machine is running. It saves your arm from all that whisking, honestly!
- → My aioli broke, can I fix it?
Don't despair! I've been there. Whisk a fresh egg yolk in a clean bowl, then slowly, drop by drop, whisk in your broken aioli until it re-emulsifies. It usually works like a charm! It’s a common oops, but totally fixable, so don't throw it out.
- → How long does homemade garlic aioli last in the fridge?
This homemade garlic aioli keeps well in an airtight container in the refrigerator for about 5-7 days. I always try to use it within a week for the best flavor and freshness. Beyond that, it starts to lose its vibrant kick, honestly, and the quality diminishes.
- → Can I make aioli with less garlic?
Of course! Adjust the garlic to your personal preference. If you're not a huge garlic fan, start with just one clove for your aioli and taste as you go. You can always add more, but you can't take it out, so start small and build up.
- → What kind of oil is best for homemade garlic aioli?
I always recommend a neutral-flavored oil like canola, grapeseed, or sunflower oil for your homemade garlic aioli. It lets the garlic and lemon shine without overpowering them. Extra virgin olive oil can be too strong, honestly, and make it bitter, so be careful there.