

Honestly, I used to think making sushi at home was a feat only for the bravest, or those with endless patience. My first attempt? A total disaster, rice everywhere, nori ripping, just a hot mess. But then, these Easy Sushi Cups stumbled into my life, and my kitchen, well, it sighed with relief. It was at a friend's potluck I saw these adorable little bites and thought, 'There's no way!' Turns out, they're surprisingly simple, incredibly satisfying, and they bring all those beloved sushi flavors without the rolling stress. They've become my secret weapon for parties, or honestly, just when I'm craving something special that feels a bit fancy but is totally approachable.
The first time I made these Easy Sushi Cups, I totally forgot to press the rice firmly enough into the muffin tin. Picture this: I flipped them out, expecting cute little domes, and instead, I got a pile of seasoned rice confetti. Oops! My husband just laughed, grabbed a spoon, and declared it 'deconstructed sushi.' We still ate it all, but now I really make sure to press that rice down. Lesson learned, folks!
Ingredients for Easy Sushi Cups
- Sushi Rice: Oh, sushi rice! This isn't just any rice, it's the sticky, slightly sweet, perfectly textured foundation of our Easy Sushi Cups. Don't even think about using long-grain or jasmine, it just won't give you that lovely chew and stick-together power. I remember once grabbing the wrong bag in a hurry, and my sushi cups turned into crumbly, sad little mounds. Stick with the short-grain, hon, trust me on this one.
- Rice Vinegar: This is what gives sushi rice its characteristic tangy brightness. It really balances the sweetness and brings out the flavor. I once tried using white vinegar in a pinch it worked, kinda, but the flavor was just... off. Not the delicate tang we're going for here.
- Granulated Sugar & Salt: These two are the secret to that perfectly seasoned sushi rice. They dissolve into the warm rice vinegar, creating a dressing that transforms plain rice into something magical. Don't skimp, but don't overdo it either. It's all about balance, like a good melody!
- Nori Sheets: These dried seaweed sheets are essential for that unmistakable sushi flavor and a little bit of structural integrity in our cups. I like to cut them into small strips or squares. Honestly, sometimes I just rip them, and it works just fine.
- Kewpie Mayo: Okay, if you know, you know. Kewpie mayo is the secret weapon for creamy, rich sushi fillings. It's got a unique tang and richness that regular mayo just can't replicate. If you can't find it, use regular mayo but add a tiny squeeze of lemon or lime to mimic that zing.
- Sriracha: For a little kick! I'm a spice lover, so I tend to go a bit heavy-handed here, but you can adjust it to your preference. It adds a lovely warmth and a pop of color to the filling.
- Canned Tuna or Crab Sticks: These are my go-to for easy, accessible protein. I usually drain the tuna really well, or shred the crab sticks. I've even tried cooked salmon before, and that was pretty dreamy too!
- Cucumber: For that refreshing crunch! I love dicing it really small so it distributes evenly in the cups. It adds a lovely textural contrast to the soft rice and creamy filling.
- Avocado: Creamy, rich, and oh-so-good. Avocado adds a wonderful silkiness and healthy fats. I always feel like I'm playing avocado roulette when I buy them, hoping for that perfectly ripe one.
- Green Onions: A fresh, mild oniony bite that brightens everything up. I love sprinkling these on top for both flavor and a pretty garnish.
- Sesame Seeds: Toasted sesame seeds add a nutty flavor and a lovely visual finish. I use both black and white for a little extra flair.
- Soy Sauce: For serving! A little drizzle or a small dish for dipping just completes the experience. I always have a good quality low-sodium one on hand.
Crafting Your Easy Sushi Cups
- Prepare the Sushi Rice:
- First things first, let's get that sushi rice cooked. Rinse it under cold water until it runs clear honestly, this step is crucial for getting rid of extra starch and ensuring that lovely, distinct texture. I usually rinse it like five times, just to be sure, and I always wonder if I’ve overdone it, but it works! Then, combine the rinsed rice and water in a medium saucepan. Bring it to a boil, then immediately reduce the heat to low, cover it tightly, and let it simmer for about 15 minutes. Resist the urge to peek, okay? That steam is doing important work in there. Once it's done, take it off the heat but leave the lid on for another 10 minutes. This little rest makes all the difference, letting the grains plump up perfectly.
- Season the Rice:
- While the rice is resting, whisk together the rice vinegar, sugar, and salt in a small bowl until the sugar and salt are completely dissolved. Once the rice is ready, transfer it to a large, non-metallic bowl. Pour the vinegar mixture over the warm rice. Now, here's my personal trick: use a rice paddle or a wooden spoon to gently 'cut' and fold the seasoning into the rice. You don't want to mash it, you're just trying to evenly distribute that lovely tang and sweetness. I usually fan it a bit with a piece of cardboard too, to cool it down quickly this gives it that perfect glossy finish. I didn't expect that little fanning trick to work so well, but it does!
- Prep Your Muffin Tin:
- Lightly grease a 12-cup muffin tin. You can use a bit of sesame oil for extra flavor or just a neutral oil. This step is a lifesaver for easy removal, trust me! Then, take about 2 tablespoons of the seasoned sushi rice and press it firmly into the bottom of each muffin cup. I mean firmly! This is where I messed up that one time, remember? You want a nice, compact base for your Easy Sushi Cups. The rice should form a sturdy little patty at the bottom. This is where the magic starts to take shape, you can almost smell the deliciousness already!
- Prepare the Nori & Filling:
- Cut your nori sheets into small strips or squares honestly, I usually just use kitchen shears and snip them into whatever size feels right for the cups. In a separate bowl, combine your drained tuna (or shredded crab sticks), Kewpie mayo, and sriracha. Mix it all up until it's well combined and creamy. This is where you can taste and adjust the spice level. I always add a little extra sriracha because, well, I like a kick! You can also add a splash of soy sauce or a tiny bit of sesame oil here if you're feeling it.
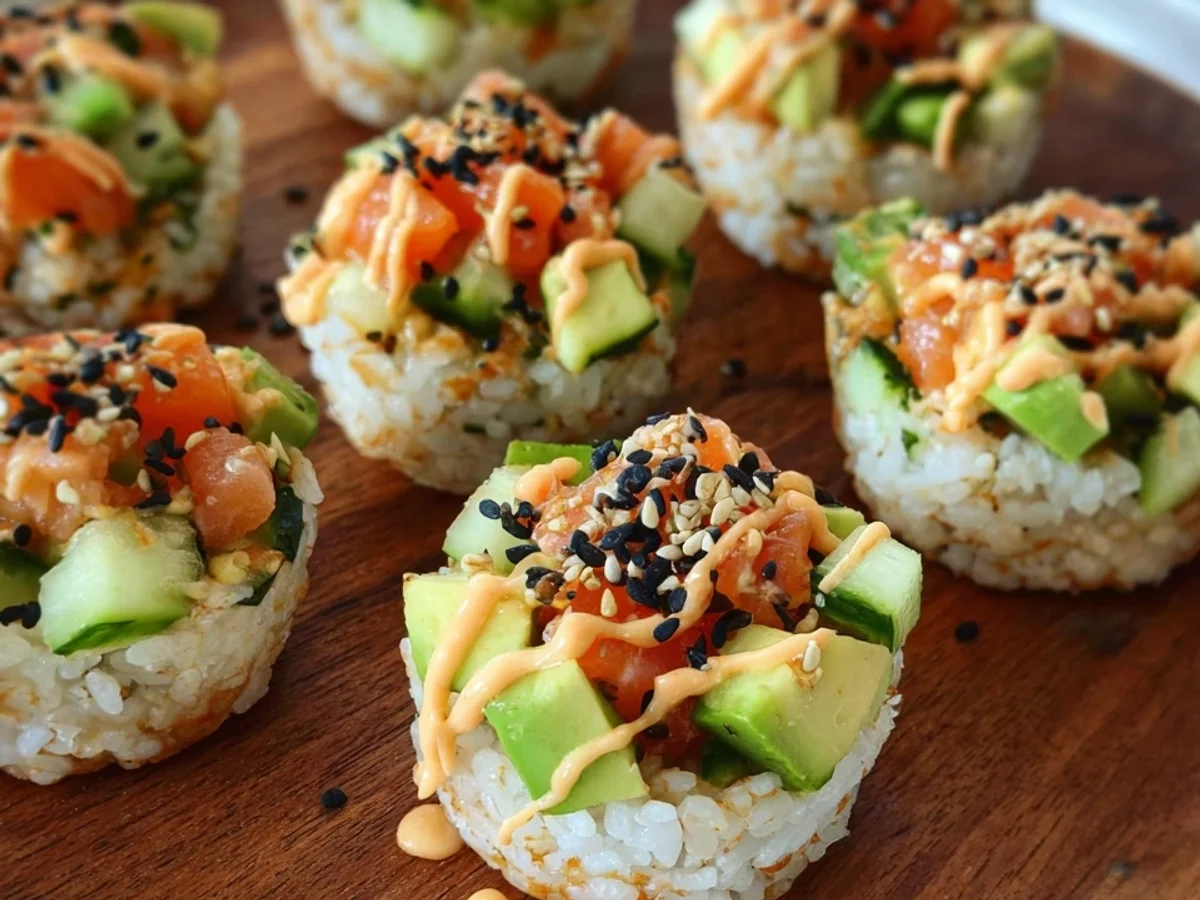
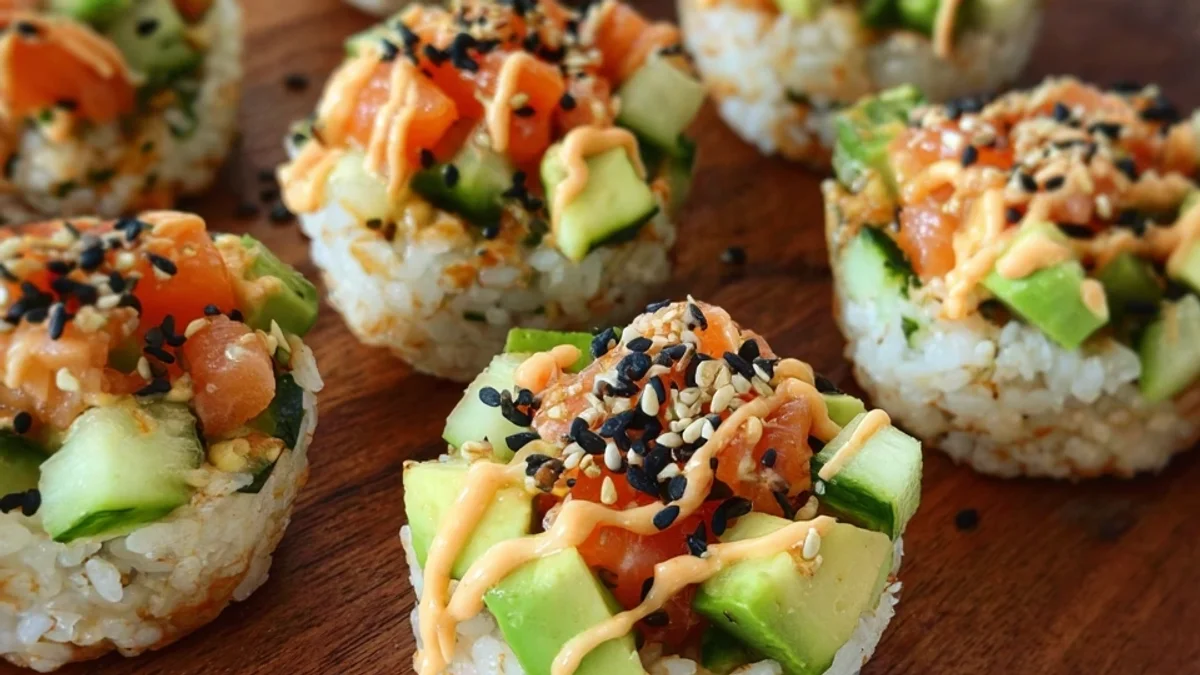
- Assemble Your Easy Sushi Cups:
- Now for the fun part! Spoon a generous dollop of your tuna/crab mixture over the rice in each muffin cup. Don't be shy! Then, top that with your diced cucumber and sliced avocado. I love layering them so you get a bit of everything in each bite. I sometimes get a bit messy here, but that's part of the charm, right? The key is to make sure each cup looks inviting and ready to be devoured. It's a little bit like building a tiny, edible masterpiece, honestly.
- Garnish and Serve:
- Finally, sprinkle your Easy Sushi Cups with the nori strips, chopped green onions, and sesame seeds. You can use both black and white sesame seeds for a pretty contrast. Gently run a knife around the edges of each cup, if needed, and carefully pop them out. Sometimes they stick a little, but a gentle wiggle usually does the trick. Serve them immediately with extra soy sauce, pickled ginger, or a dab of wasabi on the side. They look so vibrant and fresh, and the smell of the sesame and nori is just lovely. Enjoy your adorable, bite-sized sushi adventure!
Making these Easy Sushi Cups always brings a little bit of joy to my kitchen. It's a dish that feels like a treat, but it's so simple to pull off. I remember one busy weeknight, I just threw these together, and my husband said it felt like we were at our favorite sushi spot, but in our pajamas! That's the magic, I think bringing those special moments right into your home, no fuss, just deliciousness.
Storing Your Easy Sushi Cups
Okay, let's talk leftovers for these Easy Sushi Cups. Honestly, they're best enjoyed fresh, especially because of the avocado, which tends to brown. But if you do have some left, you can store them in an airtight container in the fridge for up to 1-2 days. Here's my honest advice: if you know you'll have leftovers, try to add the avocado just before serving the portion you'll eat immediately. For the stored ones, add fresh avocado when you're ready to eat them. I tried microwaving them once, and the rice got a bit hard and the filling was... not ideal, lol. So, best to enjoy them chilled or at room temperature the next day. They make a surprisingly satisfying cold lunch!

Easy Sushi Cups: Ingredient Substitutions
I've experimented a bit with these Easy Sushi Cups, and here's what I've found. If you're not a fan of tuna or crab sticks, cooked shrimp (chopped small) works wonderfully! You could even use smoked salmon for a really decadent twist. For a vegetarian option, try finely diced baked tofu or a mix of finely chopped bell peppers and carrots in the mayo-sriracha sauce I tried a tofu version once, and it worked, kinda, but needed extra seasoning. No cucumber? Diced celery will give you that crunch, though the flavor is different. And if you're out of green onions, a tiny bit of chives or even a sprinkle of finely minced red onion can work, but go easy on the red onion, it's strong!
Serving Your Easy Sushi Cups with Flair
These Easy Sushi Cups are already pretty fabulous on their own, but I do have some favorite ways to serve them. For a casual appetizer spread, I like to arrange them on a big platter with small bowls of soy sauce, pickled ginger, and a tiny bit of wasabi paste on the side for those who like extra heat. They pair beautifully with a light, crisp sake or even a cold ginger ale. For a cozy night in, I'll plate a few alongside a simple miso soup and a side salad with a sesame dressing. Honestly, these sushi cups and a good rom-com? Yes please. They just make any meal feel a little more special, whether it's a party or just you on the couch.
Cultural Backstory of Sushi Cups
While traditional sushi has a rich and ancient history in Japan, these 'sushi cups' are definitely a modern, Western-influenced take on those classic flavors. They're part of a trend of deconstructed or simplified versions of beloved dishes, making them more accessible for home cooks or for casual entertaining. For me, discovering these Easy Sushi Cups was like finding a cheat code to enjoy the flavors I loved from Japanese cuisine without the intimidation of rolling. It connects me to the joy of sharing delicious, globally inspired food, but in a way that fits my busy life. It's about appreciating the essence of a culture's food, adapted for a different context, and honestly, that's pretty cool.
So there you have it, my take on Easy Sushi Cups. They're a little bit messy, a whole lot delicious, and they bring so much joy to my kitchen. I hope you give them a whirl and find them as delightful and stress-free as I do. Don't be shy about making them your own that's the best part of cooking, right? I'd love to hear how your version turns out!

Frequently Asked Questions
- → Can I make these Easy Sushi Cups ahead of time?
You can prep the rice and filling a day in advance, but I'd hold off on assembling until just before serving. The avocado can brown, and the rice texture is best fresh. I often mix the tuna/crab the night before!
- → What if I don't have Kewpie mayo for my Easy Sushi Cups?
No worries! You can use regular mayonnaise, but try adding a tiny splash of rice vinegar or lemon juice to give it a bit more tang. It won't be exactly the same, but it'll still be tasty. I've done it in a pinch!
- → My sushi rice isn't sticky enough for the Easy Sushi Cups, what went wrong?
This usually means the rice wasn't rinsed enough, or it wasn't cooked with enough water/rested properly. Make sure you use short-grain sushi rice and follow the cooking instructions precisely. My first attempt was a crumbly mess, so I feel your pain!
- → How long do Easy Sushi Cups last in the fridge?
They're best within 24 hours, especially with avocado. If you want them to last a bit longer (up to 2 days), add the avocado just before eating. I find they get a little dry after that, honestly.
- → Can I add other fillings to my Easy Sushi Cups?
Absolutely! That's the beauty of them. Try cooked salmon, shrimp tempura, imitation crab, or even thinly sliced smoked duck. For veggies, bell peppers or finely shredded carrots work well. I've thrown in everything but the kitchen sink sometimes!