

Okay, so picture this: it's a rainy Saturday, I'm knee-deep in laundry, and my snack drawer is looking... bleak. We've all been there, right? My kiddos were begging for those bright orange crackers, but honestly, I was feeling a bit adventurous. That's when I stumbled upon the idea of making my own homemade Cheez Its. I didn't expect to fall head over heels, but the smell alone that warm, sharp cheddar aroma filling my kitchen just hooked me. It felt like a little rebellion, a tiny win against the store-bought aisle. These crispy, cheesy crackers are now a staple, a little bit of sunshine on even the gloomiest days.
I still remember the first time I tried to roll out the dough for these homemade Cheez Its. It was a sticky, flour-dusted mess, honestly. I think I added too much butter, or maybe my kitchen was just too warm. The dough kept tearing, and I almost gave up, just reaching for the store-bought box. But I persevered, patched it up, and eventually, those little squares emerged from the oven. A little lopsided, sure, but the taste? Pure magic. It taught me that sometimes the messiest attempts lead to the best discoveries.
Ingredients for Homemade Cheez Its
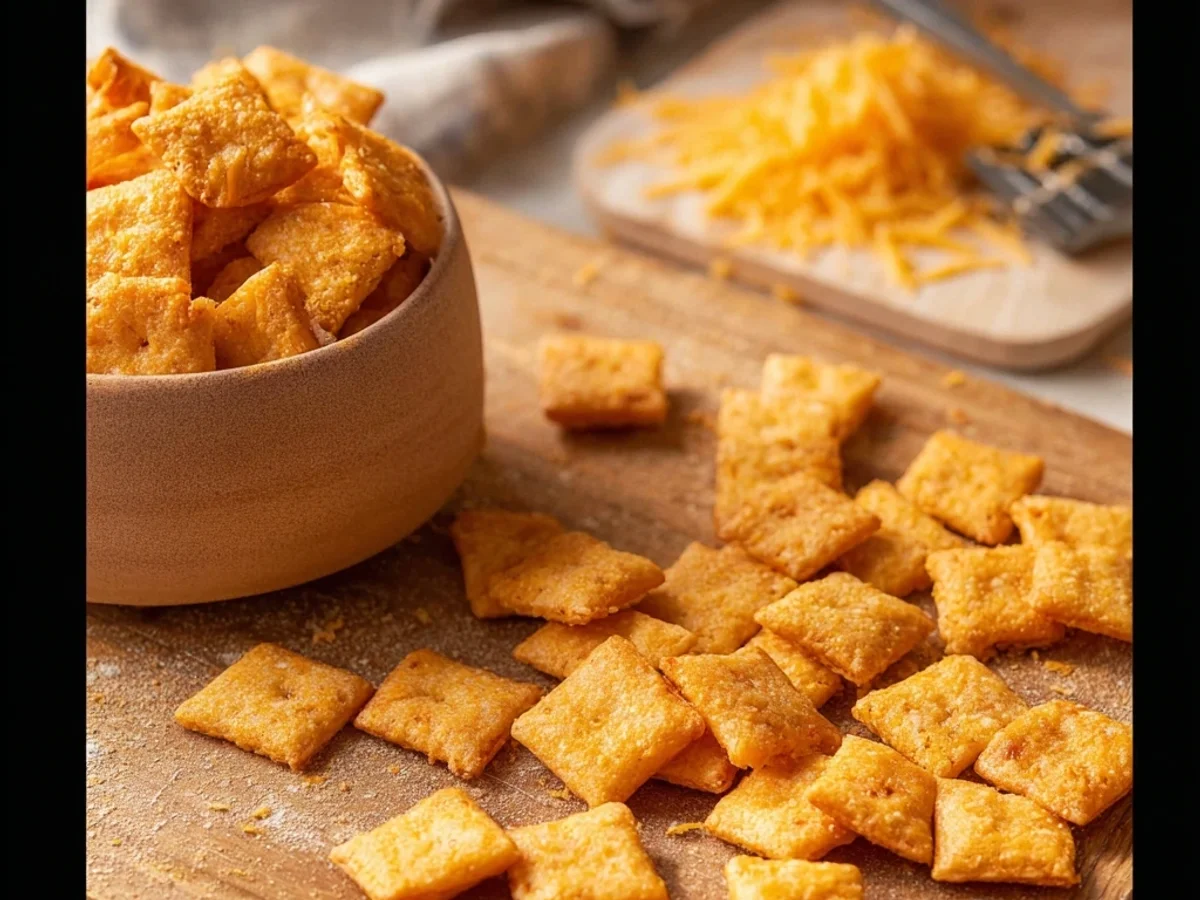
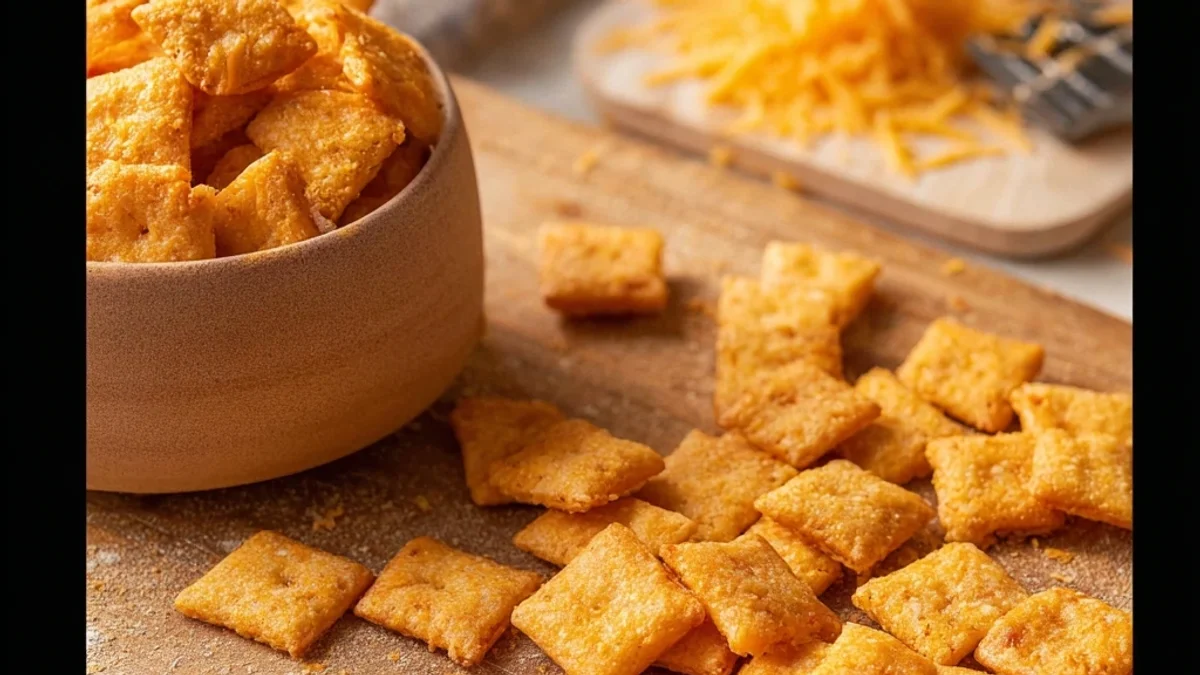
- Sharp Cheddar Cheese: This is the star of the show, hon! Don't skimp, don't use pre-shredded if you can help it freshly grated sharp cheddar melts and crisps up so much better. I tried a mild cheddar once, and it just didn't have that signature zing.
- All-Purpose Flour: The backbone of our cracker. I’ve used bread flour in a pinch, and it made them a bit chewier, which wasn't quite the vibe we're going for here. Stick with AP for that classic crisp.
- Cold Unsalted Butter: Key for flakiness, just like pie crust! Cut it into small cubes and keep it super cold. I once used softened butter, thinking it would be easier, and ended up with a greasy, dense cracker. Oops.
- Ice Water: A little splash helps bring the dough together without overworking it. Seriously, ice water is important, it keeps the butter from melting too fast, which is crucial for those crispy Homemade Cheez Its.
- Fine Sea Salt: Balances all that cheesy goodness. I usually add a bit extra for that perfect salty crunch, especially a sprinkle of flaky sea salt on top before baking.
- Smoked Paprika: Gives a subtle warmth and a gorgeous color. I tried a tiny pinch of cayenne once for a kick, and it was a fun surprise, but smoked paprika is my go-to for that classic flavor.
Making Your Own Homemade Cheez Its
- Whirl the Cheese and Flour:
- First things first, grab your food processor it's going to be your best friend for these Homemade Cheez Its. Toss in your freshly grated sharp cheddar and about half of your all-purpose flour. Pulse it a few times until the cheese is finely ground and mixed with the flour. You want it to look almost like coarse sand, honestly. This step is crucial for getting that even cheesy distribution throughout the cracker. I remember the first time I just dumped everything in, and I had big chunks of cheese, which, while still tasty, wasn't the smooth cracker texture I was aiming for.
- Add Cold Butter and Remaining Flour:
- Now, add the rest of your flour, along with your super cold, cubed butter, and a good pinch of fine sea salt to the food processor. Pulse again, maybe 10-15 times, until the mixture resembles coarse crumbs, like pebbly sand. You'll see little flecks of butter still, and that's exactly what you want! Don't overmix here, or your crackers will be tough. I made that mistake once, processing it until it looked like a paste, and the resulting crackers were more like hardtack. Learn from my oops moment!
- Bring Dough Together with Ice Water:
- With the food processor running, slowly drizzle in the ice water, one tablespoon at a time, just until the dough starts to come together into a ball. It might take 2-4 tablespoons, so keep an eye on it! Stop as soon as it forms a cohesive dough. You're not looking for a wet, sticky mess, just a pliable dough. Overwatering it makes it difficult to roll out, and under-watering it makes it crumbly. It’s a delicate balance, but you'll get the hang of it!
- Chill and Roll Out the Dough:
- Gather the dough, flatten it into a disc, wrap it tightly in plastic, and pop it in the fridge for at least 30 minutes. This chilling time is vital for easy rolling and preventing the butter from melting. When you're ready, flour your work surface lightly and roll the dough out incredibly thin we're talking about 1/16th of an inch! Seriously, the thinner, the crispier your Homemade Cheez Its will be. I always aim for almost transparent, it makes such a difference.
- Cut and Prick Your Crackers:
- Time for the fun part! Use a fluted pastry wheel or a sharp knife to cut the dough into small squares, about 1-inch by 1-inch. Then, gently prick the center of each square with a toothpick or a skewer. This little step prevents them from puffing up too much in the oven. Transfer your cut squares carefully to baking sheets lined with parchment paper, leaving a tiny bit of space between each one. Don't worry if they're not perfectly uniform, mine rarely are!
- Bake to Golden Perfection:
- Preheat your oven to 375°F (190°C). Bake the crackers for about 12-15 minutes, or until they're golden brown and wonderfully crispy. Keep a close eye on them, especially towards the end, because they can go from perfectly golden to burnt in a flash! The smell that fills your kitchen at this stage is absolutely heavenly that rich, toasted cheese aroma is just the best. Let them cool completely on a wire rack, they'll crisp up even more as they cool. Enjoy your Homemade Cheez Its!
I remember one time, I was trying to rush through making a batch of Homemade Cheez Its because unexpected company was coming. I didn't chill the dough long enough, and it was a battle. It stuck to everything, and I ended up with oddly shaped, thick crackers. They still tasted good, because, well, cheese, but they weren't the delicate crunch I loved. It just goes to show, sometimes the best things need a little patience!
Storage Tips for Homemade Cheez Its
So, you've made a glorious batch of Homemade Cheez Its, and now you want to keep them fresh. My advice? Store them in an airtight container at room temperature. A cookie jar or a sturdy plastic container works perfectly. They usually keep their crispness for up to a week, though honestly, they rarely last that long in my house! I once tried putting them in a ziploc bag that wasn't sealed quite right, and they went soft overnight. Don't do that lol. If they do lose a bit of their crunch, you can try reheating them in a toaster oven for a few minutes to crisp them back up, but they're still fine to eat even if they're not quite as crackly.

Homemade Cheez Its: Ingredient Substitutions
I've played around with a few things when making Homemade Cheez Its. For the cheese, while sharp cheddar is king, I've had decent luck with a blend of sharp cheddar and a little bit of parmesan for an extra salty kick it adds a nice umami depth. I tried using Monterey Jack once, and it was too mild, just didn't have that classic Cheez It punch. If you're out of smoked paprika, a tiny pinch of cayenne pepper can give a little warmth, or even just regular paprika for color. For the butter, I always use unsalted so I can control the salt content, but if you only have salted, just reduce the added salt in the recipe. I haven't tried gluten-free flour, but I've heard some all-purpose GF blends can work, though the texture might be a little different.
Homemade Cheez Its: Serving Suggestions
Honestly, these Homemade Cheez Its are amazing all on their own, straight from the cooling rack! But if you want to elevate your snack game, I've got ideas. They are absolutely fantastic with a warm bowl of creamy tomato soup that salty, cheesy crunch dipped into rich tomato is pure comfort. Think of it as a grown-up version of a childhood favorite. They're also great on a cheese board, adding a homemade touch that impresses without too much fuss. For a simple appetizer, serve them alongside some olives and maybe a little fruit. And for a cozy night in? A handful of these, a good movie, and a glass of sparkling cider? Yes please, that's my kind of evening!
Homemade Cheez Its: Cultural Backstory
While the original Cheez-It cracker has a distinctly American story, born in Ohio in the 1920s, the idea of making savory, cheesy crackers at home feels so much older and more universal. For me, making Homemade Cheez Its connects to a broader tradition of home baking, of taking simple ingredients and transforming them into something comforting and familiar. It's about that feeling of nostalgia, of recreating a beloved snack with real, wholesome ingredients. My grandma always had a knack for making things from scratch, and while she never made these specific crackers, the spirit of her kitchen the smells, the warmth, the love poured into every bite is what I try to capture when I bake these for my family. It's a little piece of edible history, made fresh.
Making these Homemade Cheez Its always brings a smile to my face, even if my kitchen ends up looking like a flour explosion. There's something so satisfying about pulling those golden, crispy squares from the oven, knowing you made them yourself. The aroma, the crunch, the cheesy goodness it all just screams "home." I hope you give them a try and maybe even make a few happy kitchen memories of your own. Let me know how they turn out!

Frequently Asked Questions About Homemade Cheez Its
- → Can I make the dough for Homemade Cheez Its ahead of time?
Absolutely! You can make the dough, wrap it tightly, and store it in the fridge for up to 2 days. Just let it sit out for 10-15 minutes before rolling to make it a bit more pliable. I've done this many times for quick snack prep!
- → What kind of cheese works best for these crackers?
Sharp cheddar is my top recommendation for that classic, tangy flavor. I've tried other cheeses, but nothing quite delivers the same punch. Grate it fresh for the best melt and crispness, pre-shredded has additives that can affect texture.
- → My crackers aren't getting crispy, what went wrong?
This usually means the dough wasn't rolled thin enough, or they didn't bake long enough. Remember, aim for about 1/16th inch thickness, and don't be afraid to let them get nice and golden brown in the oven. Keep an eye on them, though!
- → How do I store leftover Homemade Cheez Its?
Once completely cooled, store them in an airtight container at room temperature. They should stay wonderfully crispy for up to a week. If they get a bit soft, a quick warm-up in a toaster oven can bring back the crunch.
- → Can I add other seasonings to the dough?
Totally! I love experimenting. A pinch of onion powder, a little dried dill, or even some everything bagel seasoning can be fun additions. Just don't go too wild, you want the cheese to shine!