

You know, there's just something about a simple snack that brings back a flood of memories. For me, it’s always been crackers. Not just any crackers, though. I used to stare at those bright orange boxes in the grocery store, wishing I could make something that tasted just as good, but with that homemade touch. Honestly, for years, I thought making crackers was some kind of ancient wizardry. Then one rainy afternoon, feeling particularly snack-deprived and unwilling to brave the grocery store, I decided, “What’s the worst that could happen?” What happened was a kitchen full of flour, a questionable dough, and eventually, these incredibly crispy, cheesy homemade cheese crackers. They’re a game-changer, I swear!
I remember the first time I made these homemade cheese crackers. My kitchen looked like a flour bomb went off. I rolled the dough too thin in some spots, too thick in others, and the little cracker shapes were… let’s just say "rustic." But the smell! Oh my goodness, the aroma of sharp cheddar baking in the oven was enough to make me forget the mess. And when they came out, golden and bubbly, even the slightly misshapen ones were devoured in minutes. It was messy, a little chaotic, but totally worth it.
Homemade Cheese Crackers: Ingredients You'll Need
- All-Purpose Flour: This is our base, the backbone of our crispy crackers! Don't overthink it, just regular all-purpose flour works wonders. I tried whole wheat once, and while it was fine, it just didn't give me that classic snap.
- Sharp Cheddar Cheese: This is where the magic happens, folks. Grate it yourself, honestly. Pre-shredded cheese has anti-caking agents that can make your crackers less tender. I swear by a good, sharp cheddar for that punchy flavor. Don't skimp here, it's the star!
- Unsalted Butter: Cold, unsalted butter is crucial for flakiness. Cut it into small pieces, it helps integrate into the flour without overworking. I once used salted butter and had to adjust the salt later, which was a whole thing. Lesson learned: unsalted gives you control.
- Cold Water: Just a little splash to bring the dough together. The colder, the better! It helps keep the butter from melting too fast, which means a flakier, crispier cracker. Add it slowly, you might not even need all of it.
- Salt: A tiny pinch really brings out that cheesy flavor. I always use fine sea salt, it just melts into the dough better. Don't be shy, but don't go overboard either, especially if your cheese is already salty.
- Smoked Paprika (Optional): Oh, this is my little secret! A touch of smoked paprika adds a lovely depth and a hint of warmth. It’s not traditional, but it elevates these homemade cheese crackers. I didn't expect that, but it really works!
Baking Your Homemade Cheese Crackers to Perfection
- Mix the Dry Ingredients:
- First things first, grab a big bowl. Toss in your flour and salt. Give it a good whisk, just to make sure everything's combined evenly. I always imagine I'm a mad scientist mixing potions at this stage a little dramatic, perhaps, but it makes mundane tasks fun, right? This initial mix ensures your salt isn't clumping in one spot, which, trust me, leads to some very unevenly seasoned crackers. You want that consistent flavor throughout.
- Cut in the Butter:
- Now for the butter. Take those cold, cubed pieces and add them to your flour mixture. Use a pastry blender, two knives, or even your fingertips (just be quick so the butter stays cold!) to cut the butter into the flour until it resembles coarse crumbs, like small peas. This step is super important for that lovely flaky texture. I once got impatient and used slightly soft butter, the dough was a sticky mess, and the crackers were dense. Learn from my oops moment!
- Add the Cheese:
- Next, stir in your freshly grated sharp cheddar and, if you're feeling adventurous, that smoked paprika. You'll see the mixture start to get that gorgeous orange hue, and oh, the smell of that cheese already! It’s such a comforting aroma, a promise of deliciousness to come. Gently mix it in until it’s evenly distributed. Don't overmix, though, we’re just incorporating, not kneading. You want those distinct pockets of cheesy goodness in your crackers.
- Bring the Dough Together:
- Gradually add the cold water, one tablespoon at a time, mixing until the dough just comes together. You might not need all of it, or you might need a tiny bit more it really depends on your flour and humidity! The dough should be cohesive but not sticky. I always go slow here, because too much water makes for tough crackers. It's a delicate balance, but you'll feel it when it's just right.
- Chill and Roll:
- Form the dough into a disk, wrap it in plastic, and pop it in the fridge for at least 30 minutes. Don't skip this, seriously! Chilling makes the dough easier to roll and helps prevent shrinking. Once chilled, flour your work surface and roll the dough out thinly, about 1/8-inch thick. This is where I sometimes get a little uneven, but hey, rustic charm, right? Use a ruler if you want perfect squares, or just freehand it like I usually do.
- Cut and Bake:
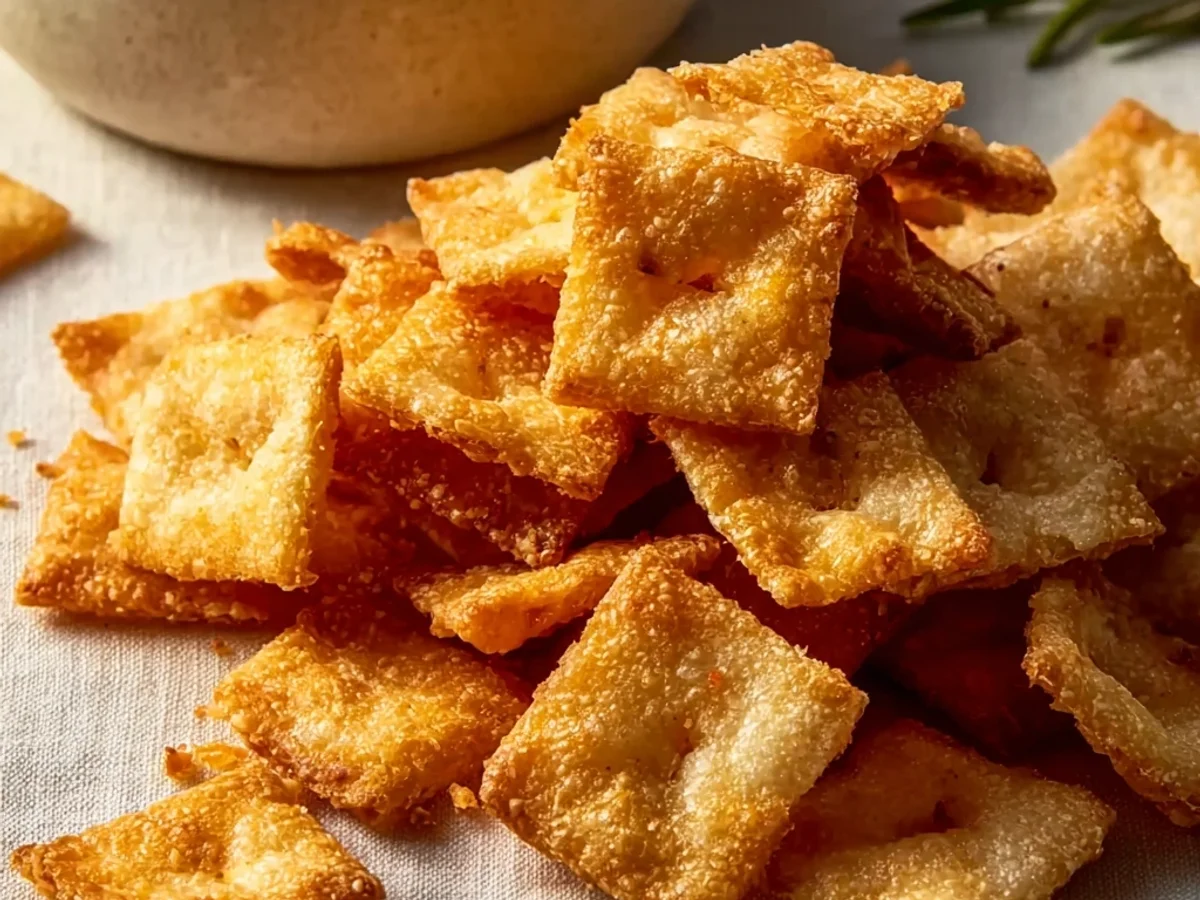
- Preheat your oven to 350°F (175°C). Use a pastry wheel or a sharp knife to cut the dough into small squares or rectangles. You can even use a small cookie cutter for fun shapes! Transfer them to a baking sheet lined with parchment paper. If you want, poke a few holes in each cracker with a fork it helps them bake evenly and stay flat. Bake for 12-15 minutes, or until golden brown and crispy. Keep an eye on them, they can go from perfectly golden to slightly burnt in a flash! The kitchen will smell incredible, trust me.
Making these homemade cheese crackers always feels like a little victory. There’s something so satisfying about pulling a tray of golden, crispy crackers from the oven, knowing you made them yourself. Sure, there might be a few flour smudges on the counter and a pile of dishes in the sink, but that first bite? Pure bliss. It’s the kind of simple pleasure that makes a regular Tuesday feel like a special occasion.
Homemade Cheese Crackers Storage Tips
So, you’ve made a glorious batch of homemade cheese crackers, now what? Once they're completely cooled (and I mean completely, otherwise you’ll get soggy crackers, which I learned the hard way), store them in an airtight container at room temperature. They’ll stay wonderfully crispy for about 3-5 days. I once tried to store them in a Ziploc bag that wasn't quite sealed, and by morning, they had lost their crunch. Don't make my mistake! If they do get a little soft, a quick 5-minute refresh in a 300°F (150°C) oven usually brings them back to life. Just keep an eye on them so they don't burn.

Homemade Cheese Crackers Ingredient Substitutions
I’ve definitely played around with ingredient swaps for these homemade cheese crackers, sometimes out of necessity, sometimes just for fun! For the cheese, a good Gruyere or even a parmesan-Reggiano can work, though they’ll give a slightly different flavor profile still delicious, just not that classic cheddar tang. I tried using a mild cheddar once, and honestly, it was a bit bland. If you’re out of all-purpose flour, a 1:1 gluten-free baking blend could work, though the texture might be a touch more crumbly. As for the butter, I haven't had much luck with plant-based butters for this recipe, the fat content and composition are just different, so sticking to real butter is my personal recommendation for the best results.
Homemade Cheese Crackers Serving Suggestions
These homemade cheese crackers are incredibly versatile! Of course, they’re amazing on their own, straight from the cooling rack. But if you want to elevate your snack game, try serving them with a creamy tomato soup for a sophisticated take on a childhood favorite. They’re also fantastic alongside a charcuterie board, adding a homemade touch that really impresses. For a casual evening, I love them with a simple glass of crisp white wine or even just a good old-fashioned sparkling water with a lemon wedge. Honestly, they’re the perfect crunchy companion for just about any dip, especially a creamy spinach artichoke dip. Total win!
The Story Behind Homemade Cheese Crackers
The concept of a cheese cracker, while seemingly simple, has a rich history tied to early baking and the desire for shelf-stable, savory snacks. Many cultures have their own version of a savory biscuit or cracker, often born out of necessity to preserve ingredients. For me, discovering how to make these homemade cheese crackers felt like tapping into that age-old tradition, but with a modern, personal twist. It’s not about some grand culinary history, but about the comfort and satisfaction of making something from scratch that brings joy. This recipe, while not ancient, connects me to that feeling of simple, honest food, and honestly, that's what makes it special in my kitchen.
So there you have it, my journey into the wonderful world of homemade cheese crackers. They might not be perfectly uniform, and yes, you might end up with flour on your nose, but the taste? Unbeatable. These crispy, savory bites are more than just a snack, they’re a little piece of homemade happiness. I hope you give them a try and maybe even share your own kitchen adventures with me!

Frequently Asked Questions
- → Can I make the dough for these homemade cheese crackers ahead of time?
Absolutely! You can prepare the dough, wrap it tightly in plastic, and store it in the fridge for up to 2 days. Just let it sit at room temperature for about 10-15 minutes before rolling to make it a bit more pliable. Super convenient for a busy week!
- → What if I don't have sharp cheddar for my homemade cheese crackers?
No worries! While sharp cheddar is my favorite, you can use other hard cheeses like Gruyere, Parmesan, or even a good aged white cheddar. Just be aware the flavor profile will change slightly, but it'll still be delicious, I promise!
- → Why are my homemade cheese crackers not crispy enough?
Ah, a common one! This usually happens if the dough wasn't rolled thin enough or if they weren't baked long enough. Make sure they're a consistent 1/8-inch thickness, and don't be afraid to let them get nice and golden brown in the oven for that perfect snap.
- → How do I store leftover homemade cheese crackers to keep them fresh?
Once completely cooled, pop them into an airtight container. They'll stay crisp at room temperature for about 3-5 days. If they get a little soft, a quick warm-up in a low oven (around 300°F for 5 mins) can revive their crunch!
- → Can I add other seasonings to my homemade cheese crackers?
Oh, you totally should! I love experimenting. Try a pinch of garlic powder, onion powder, or even a tiny bit of dried rosemary or thyme. Just don't go overboard, you want the cheese to shine, but a little extra flavor boost is always fun!