

Honestly, I used to think aioli was this fancy, intimidating thing only chefs made. Then came the day I accidentally over-roasted some garlic for a pasta dish, and instead of tossing it, I mashed it. The smell alone was heavenly sweet, earthy, no harsh garlic bite. A lightbulb went off! What if I just... mixed it with mayo? My kitchen, typically a chaotic explosion of flour and half-chopped veggies, suddenly felt like a culinary laboratory. I remember staring at the two ingredients, a bit skeptical, but also, what did I have to lose? That first taste? Pure magic. This 3 Ingredient Roasted garlic Aioli became my secret weapon, a little bit of gourmet flair with zero fuss, truly a game-changer for my weeknight meals.
I still laugh thinking about the first time I tried to explain this 'recipe' to a friend. "You just... roast garlic, then mix it with mayo and a squeeze of lemon," I said, shrugging. She looked at me like I'd just revealed the secret to cold fusion. My kitchen was a mess, as usual, with garlic skins everywhere and a smudge of mayo on my cheek, but the pure joy of creating something so delicious with so little effort was contagious. It’s those simple, slightly messy kitchen moments that stick with you, making this Roasted garlic Aioli extra special.
Ingredients for Roasted Garlic Aioli
- Whole Head of garlic: This is the absolute star of our show, the reason this aioli tastes so incredibly good. Roasting transforms it from pungent to sweet, soft, and utterly irresistible. Don't even think about using pre-minced stuff here, the fresh roasting is non-negotiable for that deep, complex flavor.
- Mayonnaise: The creamy base that holds it all together. Honestly, use a good quality full-fat mayo here, it makes all the difference. I once tried a light mayo, and it just didn't have that luscious body, the whole thing felt... thinner, less satisfying. Don't skimp on this one, trust me.
- fresh Lemon Juice: A little squeeze of fresh lemon brightens everything up, cutting through the richness of the mayo and the sweetness of the garlic. It's that zing that makes your taste buds sing! I always have a lemon on hand for this, but a splash of lime juice works in a pinch too, just a slightly different vibe.
- Olive Oil (for roasting): Just a drizzle over the garlic before roasting helps it caramelize beautifully and infuses it with a lovely, fruity note. Any good quality olive oil will do, no need for the fancy finishing oil here, unless you want to be extra.
- Salt (to taste): Essential for bringing out all those wonderful flavors! Don't forget it. I usually start with a small pinch and add more until it tastes just right. This is where you really get to make it your own, depending on your mayo's saltiness.
- Black Pepper (optional, to taste): I love a tiny grind of fresh black pepper for a little warmth and subtle kick. It’s not strictly 3 ingredients anymore, I know, but it really elevates the flavor profile, adding a little something extra that I always reach for.
Making Your Roasted Garlic Aioli: The Steps
- Roast the Garlic:
- First things first, let's get that garlic roasting. Preheat your oven to 400°F (200°C). Grab a whole head of garlic, slice about a quarter-inch off the top to expose the cloves, then drizzle it with a little olive oil. Wrap it snugly in foil I always make sure it's a tight little packet so all that garlicky goodness steams and softens perfectly. Pop it onto a baking sheet and into the oven for about 40-50 minutes. You're looking for super soft, golden-brown cloves. I've definitely under-roasted it before, and it just doesn't have that sweet, creamy texture, so don't rush this step!
- Cool and Extract:
- Once your garlic is beautifully roasted, pull it out of the oven and let it cool down a bit. Seriously, give it about 10-15 minutes, or you'll burn your fingers trying to squeeze out those cloves, trust me, I've made that mistake more times than I care to admit! Once it's cool enough to handle, just squeeze the bottom of the garlic head, and those wonderfully soft, caramelized cloves will pop right out. It's surprisingly satisfying, honestly, like magic.
- Mash the Garlic:
- Now for the fun part! Take all those lovely roasted garlic cloves and put them into a small bowl. Grab a fork and start mashing them until you have a relatively smooth paste. You don't need it perfectly smooth, a few small lumps add character, I think! It should smell absolutely incredible at this point sweet, savory, deeply aromatic. This is where the magic really starts to happen for your 3 Ingredient Roasted Garlic Aioli!
- Combine with Mayonnaise:
- Add your mashed roasted garlic paste directly into the bowl with your chosen mayonnaise. I usually start with about a cup of mayo for one head of garlic, but you can adjust this depending on how garlicky you want your aioli. Stir it all together really well, making sure that sweet garlic is evenly distributed throughout the creamy mayo. Don't be afraid to get in there with a spoon and really mix it up, I find a vigorous stir makes it extra smooth.
- Add Fresh Lemon Juice:
- Now, for that essential bright note! Squeeze in about a tablespoon of fresh lemon juice. This isn't just for flavor, it also helps to lighten the texture and prevent the aioli from feeling too heavy. Stir it in thoroughly. Taste it here, and if you feel it needs more zing, add another half-teaspoon. I’ve definitely added too much once and had to add more mayo to balance it out, so go slow!
- Season and Adjust:
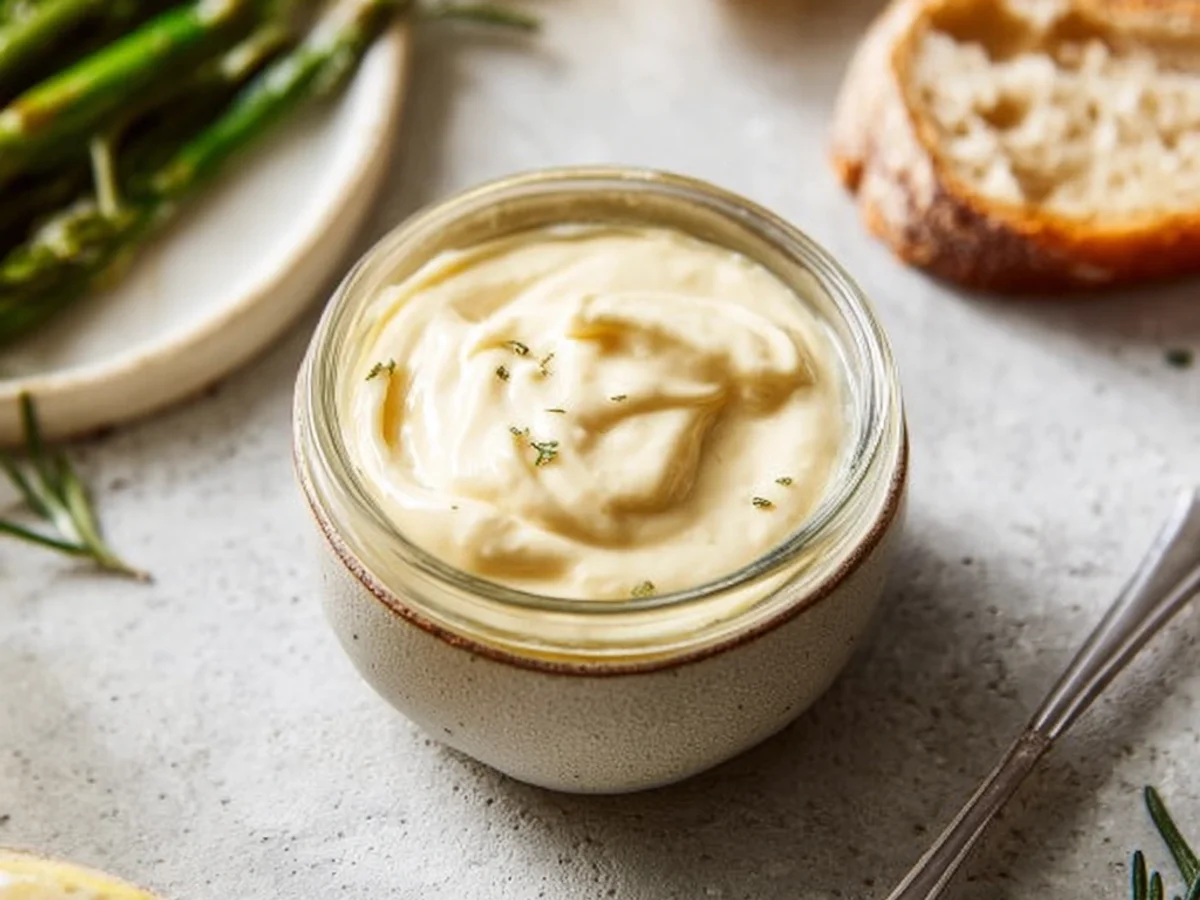
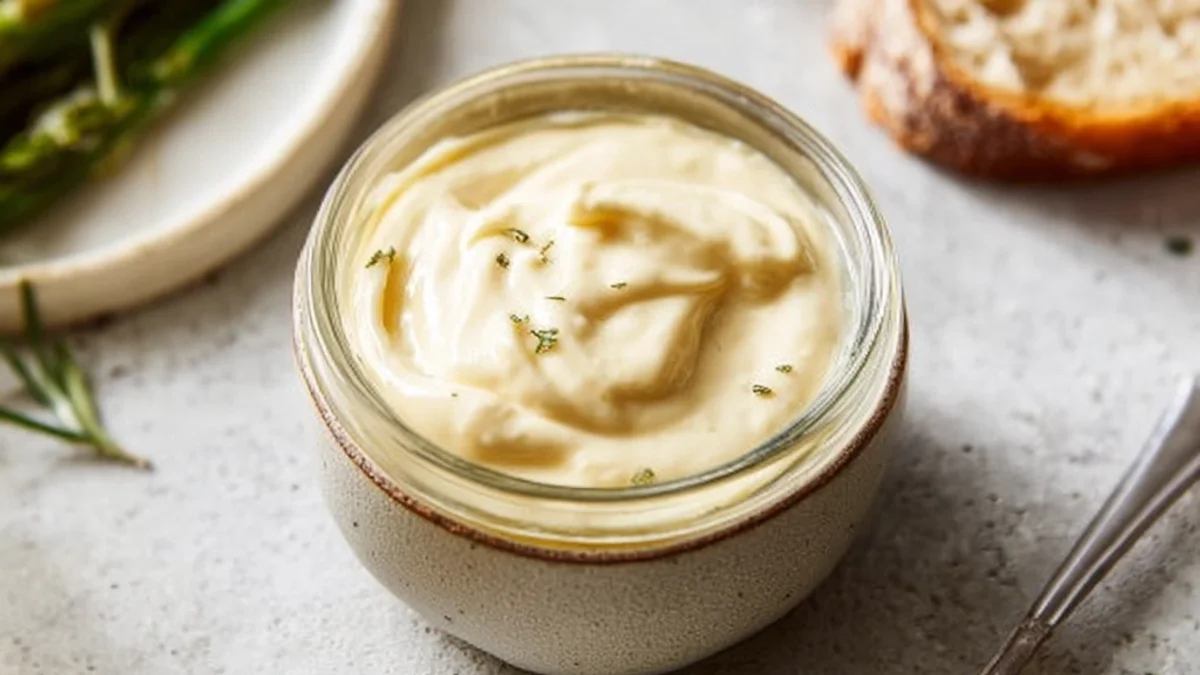
- Finally, it's time to season your 3 Ingredient Roasted Garlic Aioli. Add a pinch of salt and a grind of fresh black pepper, if you like. Stir, then taste again. This is your moment to make it truly perfect for your palate. Does it need a little more salt? A tiny bit more lemon? Maybe a touch more garlic if you're a garlic fiend like me? Adjust until it sings. The final result should be creamy, tangy, and deeply flavorful, with that unmistakable sweetness from the roasted garlic. So good!
Making this Roasted Garlic Aioli always feels like a little victory in my kitchen. It's so simple, yet it tastes like something you’d get at a fancy restaurant. I love watching friends try it for the first time, their eyes widening in surprise at how much flavor comes from just a few ingredients. It’s those small, delicious moments that make all the kitchen chaos worth it, reminding me why I love to cook.
Roasted Garlic Aioli Storage Tips
This 3 Ingredient Roasted Garlic Aioli holds up really well, thankfully! I always store it in an airtight container in the fridge. Those little glass jars with tight-fitting lids are my go-to. It usually lasts for about 5-7 days, and honestly, sometimes the flavors meld even better after a day or two in the fridge. I once microwaved a small dollop to warm it up, thinking it would be nice, and the sauce separated so don't do that, lol! Just let it come to room temperature for about 15 minutes before serving for the best texture. If it thickens up too much in the fridge, a tiny splash of water or a bit more lemon juice and a good stir will bring it right back.

Ingredient Substitutions for Roasted Garlic Aioli
While this is a 3-ingredient recipe, life happens, right? If you don't have fresh lemon, I've tried a tiny splash of apple cider vinegar in a pinch, and it worked... kinda. It gives that acidity, but lacks the bright, fresh notes of real lemon. For the mayonnaise, if you're avoiding eggs or want a vegan version, a good quality vegan mayo works beautifully, I’ve used it several times with great success. Just make sure it’s a brand you like the taste of. As for the garlic, there's really no substitute for freshly roasted garlic for this recipe's soul, but if you're in a super rush, a teaspoon of garlic powder mixed into the mayo can give a hint of garlic, but it won't be the same sweet, mellow flavor. Honestly, though, roast the garlic if you can!
Serving Your Roasted Garlic Aioli
Oh, the possibilities! This 3 Ingredient Roasted Garlic Aioli is ridiculously versatile. My absolute favorite way to serve it is alongside crispy homemade fries or sweet potato wedges, it's a match made in heaven. It also makes an incredible spread for sandwiches and burgers seriously, it elevates a simple turkey sandwich to gourmet status. Try it as a dip for fresh veggies on a snack board, or dollop it onto grilled fish or chicken for an instant flavor boost. I've even used it as a base for a quick pasta sauce with some sun-dried tomatoes and spinach. And for a cozy night in? This aioli with some crusty bread and a rom-com? Yes, please. It just makes everything taste a little more special, a little more 'me.'
Cultural Backstory of Aioli
Aioli, at its heart, is a Mediterranean classic, traditionally a pungent sauce made from garlic, olive oil, and often egg yolk. It's got roots stretching back to Roman times, a staple in places like Provence, France, and Catalonia, Spain, where it's served with everything from seafood to vegetables. My version, this 3 Ingredient Roasted Garlic Aioli, is a much simpler, Americanized take, focusing on the sweet, mellow flavor of roasted garlic rather than the raw intensity. It’s less about strict tradition and more about capturing that comforting, garlicky essence in a way that’s easy for any home cook. It’s my nod to those rich traditions, made accessible for my own kitchen. It reminds me of sunny Mediterranean days, even when it's raining outside.
This 3 Ingredient Roasted Garlic Aioli really is more than just a sauce for me, it's a reminder that sometimes the simplest things bring the most joy. It’s turned countless ordinary meals into something memorable, and honestly, it just makes me happy to share. I hope you give it a try and find as much delight in it as I do. Let me know what you put it on, I love hearing about your kitchen adventures!

Frequently Asked Questions about Roasted Garlic Aioli
- → Why is my Roasted Garlic Aioli not garlicky enough?
If your aioli feels a bit shy on the garlic front, you might need to roast the garlic longer or use a slightly larger head next time. Sometimes I even add an extra clove or two if I’m feeling particularly bold! Just taste as you go.
- → Can I use pre-minced garlic for this aioli recipe?
Honestly, I wouldn't recommend it. The magic of this Roasted Garlic Aioli comes from the sweet, mellow flavor developed during roasting. Pre-minced garlic won't give you that same deep, caramelized taste, it'll be too sharp, trust me.
- → My aioli is too thick/thin, how can I fix it?
If your 3 Ingredient Roasted Garlic Aioli is too thick, stir in a tiny bit of water or more lemon juice until it reaches your desired consistency. If it's too thin, you can try adding a little more mayo, or letting it chill in the fridge for an hour to firm up.
- → How long does homemade Roasted Garlic Aioli last?
Because it's made with mayonnaise (which contains egg), it's best to enjoy your Roasted Garlic Aioli within 5-7 days when stored in an airtight container in the refrigerator. I've definitely pushed it to 8 days once, but 7 is safer!
- → Can I add other flavors to this Roasted Garlic Aioli?
Absolutely! I often swirl in a pinch of smoked paprika, a dash of sriracha for heat, or even some finely chopped fresh herbs like parsley or chives. It’s a great base for experimentation!